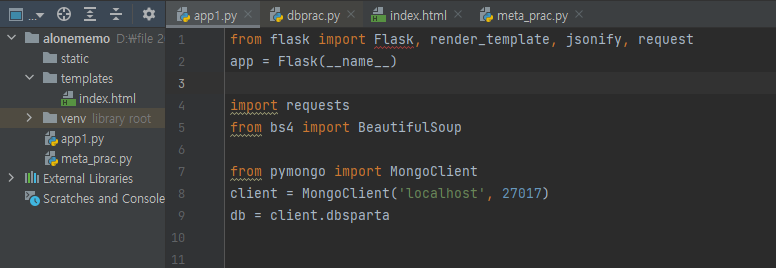
패키지들의 의미:
1.flask: 플라스크(Flask)는 파이썬으로 웹 어플리케이션을 만드는 마이크로 웹 프레임워크입니다.
대표적으로 웹 프레임워크에는 Flask, Django, Tornado 등이 있습니다.
그럼 마이크로 프레임워크는 무엇일까요?
마이크로 프레임워크란 핵심 기능만 간결하게 유지하지만, 확장 가능한 것을 목적으로 하는 프레임워크라고 합니다.
즉, 특별한 도구나 라이브러리가 필요 없기 때문에 마이크로 프레임워크라고 부른다고 합니다.
출처: https://forensickelly.tistory.com/entry/Python-Windows에서-Flask-설치하기 [forensic's kelly]
2.requests: python에서 요청을 모아놓는 기능.
3.pymongo:
파이썬에서는 DBMS(DataBase Management System)을 간단한 명령어로 운용할수있다.
파이썬의 Pymongo 패키지로 NoSQL 데이터베이스인 Mongo DB에 접근한다.
Mongo DB는 JSON형태로 데이터를 저장하므로 DB를 유연하게 확장 가능
파이썬 PIP를 사용하여 pymongo를 설치한다.
#Reference:
1)https://www.w3schools.com/python/python_mongodb_getstarted.asp
3)https://www.youtube.com/watch?v=P1Qbf3A_E6U
4.bs4:
파이썬 크롤링 크롤러 설치 python BeautifulSoup bs4
크롤링이란?
웹페이지에서 필요한 데이터를 추출하는 작업을 의미한다.
웹 크롤링을 하기 위해서는
1) pip 명령어로 BeautifulSoup 모듈을 설치하고
2) Html에 대한 기본적인 이해가 필요하며
3) CSS의 선택자에 대한 이해가 필요하다.
BeautifulSoup란?
파이썬에 추가할 수 있는 크롤링을 위한 라이브러리이다. 결국, 웹에 있는 데이터를 가져와서 추출할 경우에 사용하는 외부 라이브러리로 추가 설치가 필요하다.
파이썬 개발환경에 새로운 모듈을 설치하려면 PIP(Python Install Package)를 이용하여 쉽게 설치가 가능하다. pip3 list는 설치된 목록을 볼 수 있다. pip3 install BeautifulSoup4는 새로운 패키지를 설치하는 명령어이다. pip3 uninstall BeautifulSoup4는 설치된 패키지를 제거하는 명령어이다.
웹크롤링에 필요한 라이브러리 설치
어떠한 웹페이지에 나와 있는 목차들을 한 번에 리스트로 가져오기 위해서는 Html이나 CSS의 기술을 약간이라도 이해하고 있어야 한다. 그리고 BeautifulSoup 라이브러리 및 request 라이브러리의 도움이 필요하다.
pip install BeautifulSoup4
pip install requests
예제 코드와 같이 pip 명령어를 사용해서 필요한 모듈 및 라이브러리를 설치할 수 있다. 그리고 Anaconda python을 설치하면 이미 설치되어 있기 때문에 따로 설치할 필요가 없다.
5.Selenium: 자동화 브라우저 프로젝트
Selenium은 웹 브라우저의 자동화를 허용하고 지원하는 다양한 도구와 라이브러리를 포함하는 프로젝트입니다.
Selenium을 이용해 브라우저를 제어하고 웹스크래핑을 할 수 있습니다.
https://www.selenium.dev/ko/documentation/
Selenium 브라우저 자동화 프로젝트
Selenium automates browsers. That's it!
www.selenium.dev
파이참에서 패키지 설치하기
파이참(Pycharm)에서 pip 대신 패키지 설치하기(feat. 셀레니움/Selenium)
파이참에서는 PIP로 설치하는 방법과 파이참 자체적으로 설치하는 방법 2가지가 있다. 파이참 자체적으로 설치하는 방법이 제일 간단해 보여서 정리한다. 프로젝트 만들고 상단에 FIle -> Settings ->
jmoon.co.kr
Pyjwt:
https://speakerdeck.com/junojunho/jwtwa-flask-pyjwtro-injeung-api-seobeo-mandeulgi
JWT와 Flask, PyJWT로 인증 API 서버 만들기
PyCon 2018 KR Tutorial slide
speakerdeck.com
'coding > Python coding' 카테고리의 다른 글
| Cannot find reference 'xxx' in __init__.py - Python / Pycharm (0) | 2021.08.06 |
|---|---|
| 화면의 크기나 환경에 따라 웹사이트를 변경하는 기술-미디어 쿼리 (0) | 2021.08.02 |
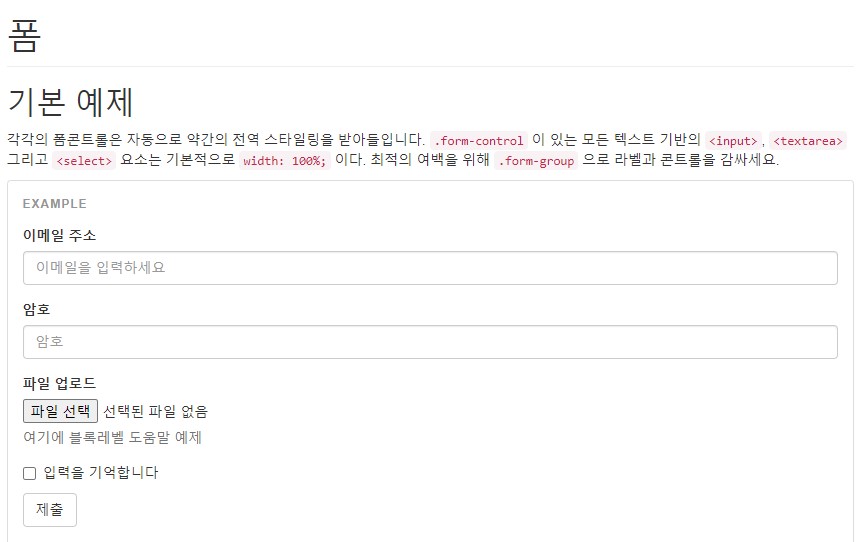
| 폼 기본예제 form (0) | 2021.07.25 |
| 다중 언어 코드 편집기 Slick Edit Pro (0) | 2021.07.17 |
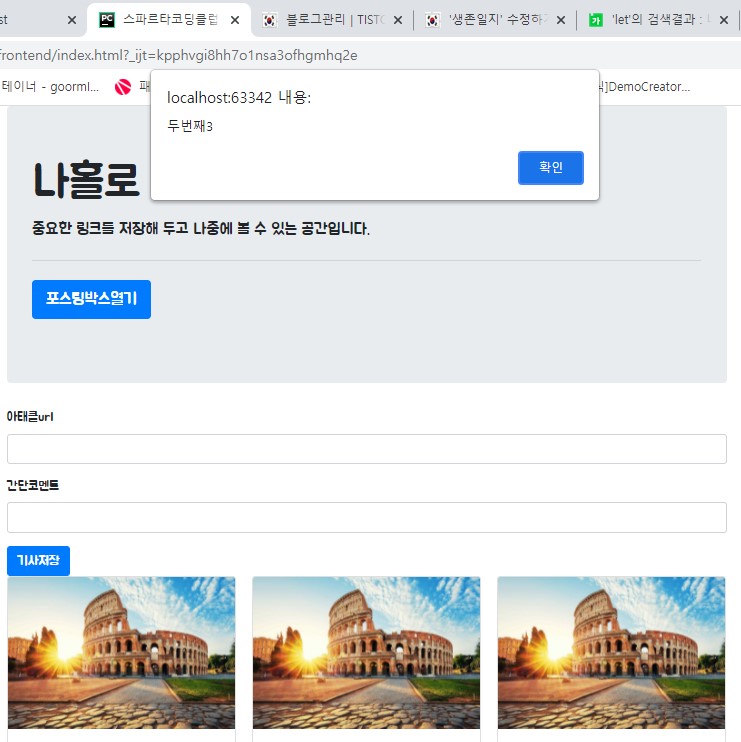
| 웹개발-종합반 1주차 숙제 (0) | 2021.07.17 |


